Recently, I headed to Snowdonia National Park to capture the Roman Bridge—one of the locations I’d scouted but never visited before. I wasn’t entirely sure which filters or compositions would work until I arrived, but the conditions turned out to be perfect.
Choosing the Right Time to Shoot
Most landscape photography happens at sunrise or sunset, but in this case, I chose not to. The foliage around the bridge is so dense that during golden hour the scene would have gone almost completely dark. Shooting during softer daylight gave me a natural backlight through the leaves, which acted like a giant softbox. This made the colours punch through beautifully and created the atmospheric look I was after.
Finding the Best Composition
At first, my position made the Roman Bridge appear like part of a cross-section, with another bridge behind it. After moving, I found the perfect angle—using the river as a leading line into the single arch of the bridge. The twisted branches and foliage added that mystical, almost fantasy-like feeling I wanted the scene to convey.
Using Filters to Enhance the Scene
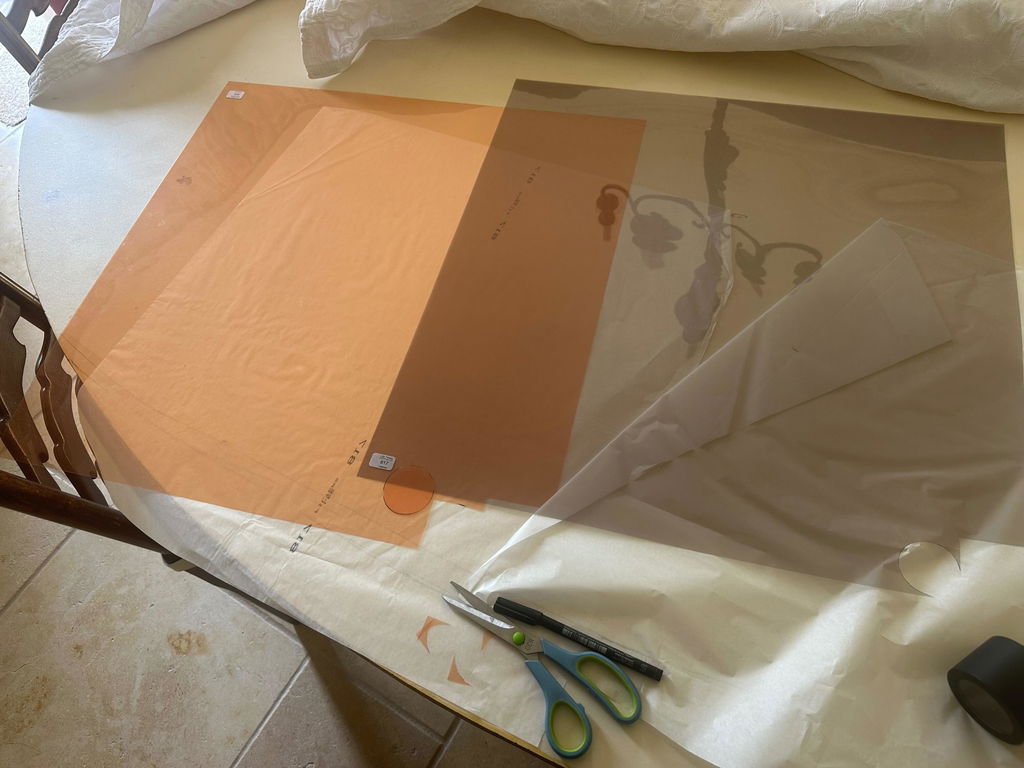
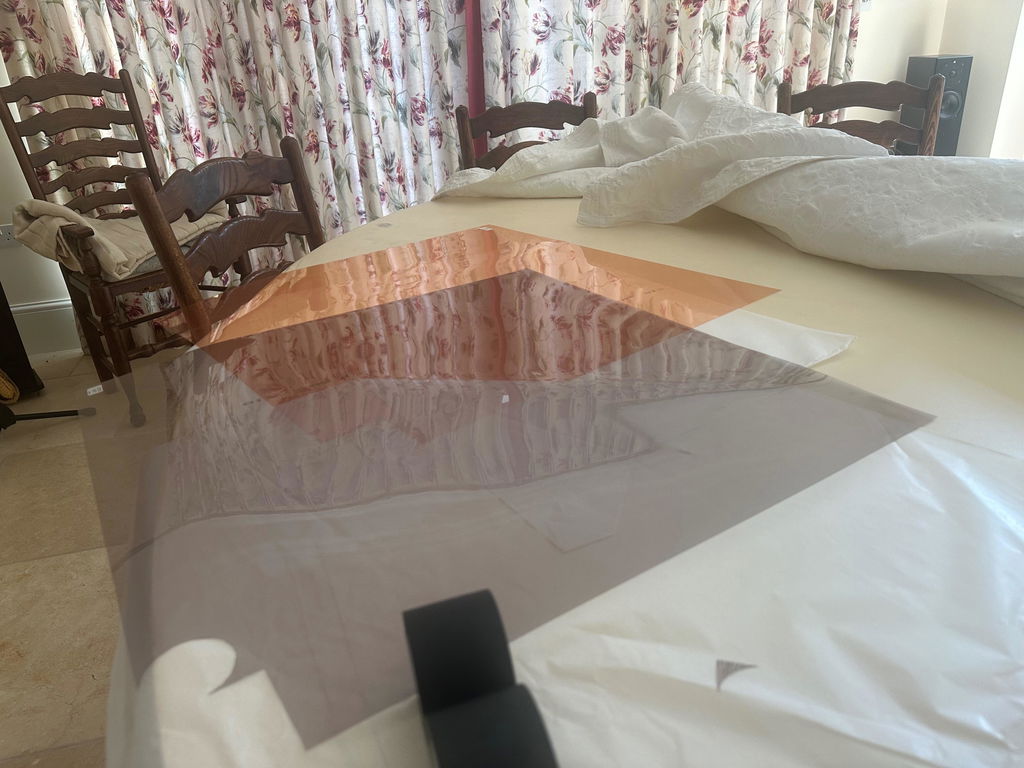
Filters were essential to achieving the final image. Here’s what I used:
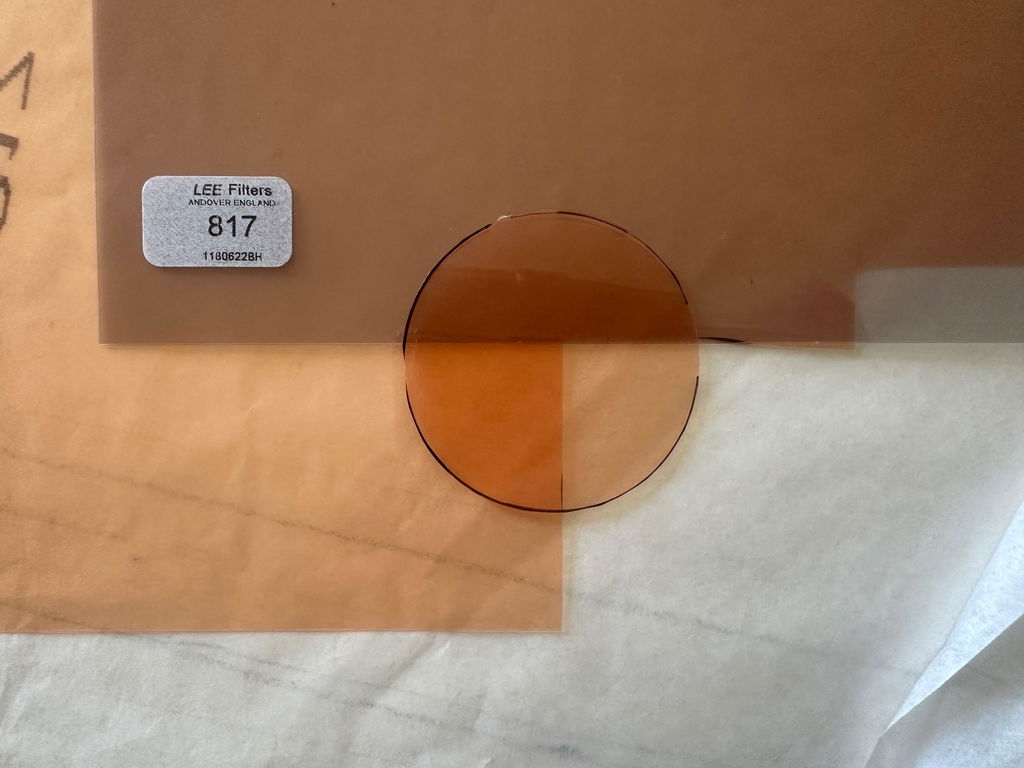
Polariser filter – Removed glare from the water and moisture on the leaves, revealing their true colours. For autumn scenes, a polariser is essential to stop oranges and yellows looking flat.
Neutral Density (ND) filter – Slowed the shutter speed to blur the flowing river, adding softness and atmosphere.
Graduated ND filter – Balanced the exposure between the sky and foreground, creating a more even image.
When stacking filters, I always make sure the graduated ND goes in first so the foam backing prevents light leaks.
Exposure and Bracketing
With the filters in place, my exposure was 25 seconds. To be safe, I also bracketed at 20 and 30 seconds. Despite stacking three filters, the image stayed perfectly sharp with no degradation—something I rely on from LEE Filters.
Shooting for Different Uses
I shot both landscape and portrait orientations. The landscape format works well for spreads or billboards, while portrait is ideal for book covers. I also consider copy space, so magazines and guidebooks can easily add titles or logos.
Minimal Editing Thanks to Filters
One of the reasons I advocate for filters is because they reduce the need for post-processing. For this image, I only made standard RAW adjustments—levels, curves, vibrance, and contrast. The only real edit was cloning out a rope swing from one of the trees.
The Final Image
The result was exactly what I wanted: a mystical, ethereal photograph of the Roman Bridge in Snowdonia. It’s atmospheric, colourful, and true to what I saw on location. Out of all the images I captured in the park, this one is my favourite.
Watch the full behind-the-scenes video: Photographing the Roman Bridge in Snowdonia
Can't fault the shopping experience, the communication, super fast postage & great price! Only issue I had was some of the filters were already lightly scratched/marked. Probably due to them rubbing together. As this was bought primarily to tint digital watch screens, it is a bit annoying as I can't use some colours. The scratches aren't big but when backlit, they stand out. Apart from that, a good experience.